Crease Dent Removal
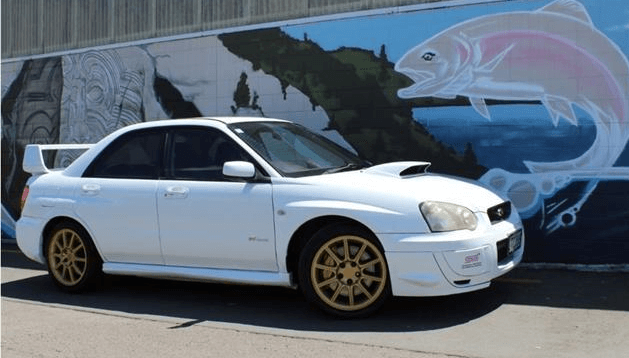
These repairs were done quite a while back on a Subaru WRX STI. Both repairs featured here are crease dent removal video clips. We show a mix of techniques including glue pulling, using tools to push the damage out then “blending” the damage out with a specialized dent removal hammer. This customer recently purchased this car. It had multiple dents in it all over the place. He choose us to perform paintless dent repair to remove his damage because the rest of the vehicle and paint was in really great shape. We believe this was a 2004-2005 WRX STI. The car had low mileage and had been cared for very well but it had some minor dents and dings in it all over from normal driving.
Fender Crease Removal
The first dent removal is a crease located in the left side fender. This damage was towards the back of the fender near the door. In order to gain access to the backside of this damage we had to remove part of the plastic fender liner. Once apart of this is removed we are able to get a tool on the backside of this damage. From there we push it out using a soft style tipped tool. Once the damage is mostly out we switch over to a sharper tipped tool. This allows us to pinpoint spots to push up and finish the damage out smooth.
Door Crease Removal
This damage was located in the front section of the right rear door. It being in this location creates one obstacle. This area is heavily braced for strength and rigidity. We start this repair with the glue pull method. Once we pull the damage out with glue we then use a brace style tool to push the damage out. This brace tool is extra thin allowing us to fit it between the bracing structure and exterior door skin. From there we do some minor blending with our blending hammer to smooth it out. Then follow this up with some minor buffing with some rubbing compound to get rid of some minor scuffs from the damage. The damage is then finished and ready to return this now dent free car to a happy customer.

