Full Glue Pull Demonstration for Paintless Dent Repair and Dent Removal
Full Glue Pull Demonstration for Paintless Dent Repair and Dent Removal
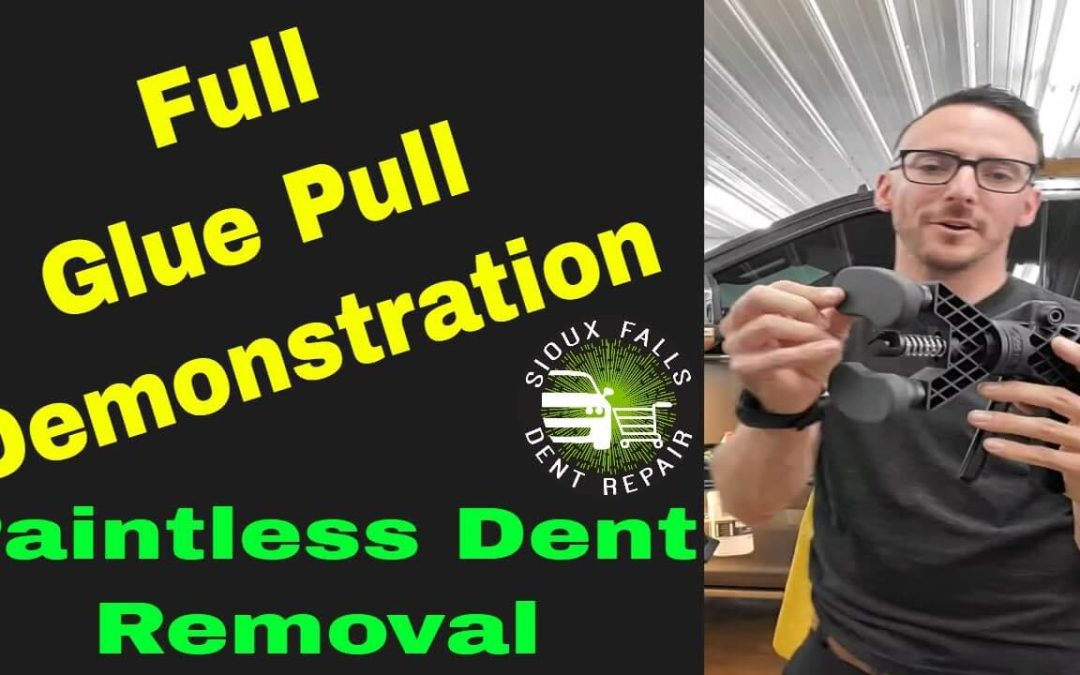
Today, we’re going to demonstrate how glue pulling really works and we have a door ding on a 2018 Ford F-150 to take care of. The body of the truck is made from aluminum and we’re going to take a look at how it differs from a regular steel body vehicle. We will also get into why glue pulling is considered for the repair rather than pushing on the metal from the inside.
The dent itself is not too severe and that is why Jack chose to do the repair live. As you can see, the dent is close to the door handle and with the PDR light, we can see that it isn’t too deep either. The special PDR light allows us to see dent clearly as we as any damage that might show up around it. Along with an aluminum body, the truck also has laminated safety glass which makes it difficult to use the traditional method of lowering the window and going in through the window channel.
Why does the type of glass make a difference? Well, there are basically two types of glass that are used in cars – tempered and laminated. The difference between the two is that laminated glass cracks and tempered glass shatters when damaged. Laminated glass is made from two different pieces of glass that are joined together with a film that keeps the glass together rather than breaking into pieces. Laminated glass can easily crack when pressure is applied to the edges which are why glue-pulling is the preferred method for PDR.
As you already know, at Sioux Falls Dent Repair, we use all types of glue-pulling tabs from all the best brands such as KECO, Edgy Tools, Robo Tabs, and Black Plaque PDR. They all bring their own benefits to the table and we always have them at hand for any type of repair.
Getting back to the dent, Jack starts things off with the Edgy Tools glue tabs because they don’t have the strongest grip on the metal and this kind of dent requires small pulls rather than large ones. After applying the glue, Jack gets two pulls on the tab and the glue stays on the car. This allows for a softer pull because the dent is not excessively large. With the first two pulls, we can see a little progress but we all know that PDR takes time and patience.
The next tab being used is the Root Beer from Anson PDR. With this tab, Jack is using a Robo Mini Lifter from KECO which takes the tab off with a loud “pop”. Once the tab is off, we can see that there was a little bit of an overpull which was expected with the type of tab and tool combination. Under the PDR lights, we can see the high spot on the dent and Jack has to now push the metal back down. For this, Jack chooses the KECO Root Beer Knockdown tool and the Shane Jacks Blending Hammer with Edgy Tools tips. With just a couple of minutes of knockdown work, we can see how Jack has almost taken out all the damage. There are only a few spots left that will be taken out by wet sanding and polishing the area. Jack completes the repair with a couple of small pull tabs and a few more seconds of hammering. After a little bit of polishing, Jack is happy with the result and is ready to move on to another dent on the other side of the vehicle.

