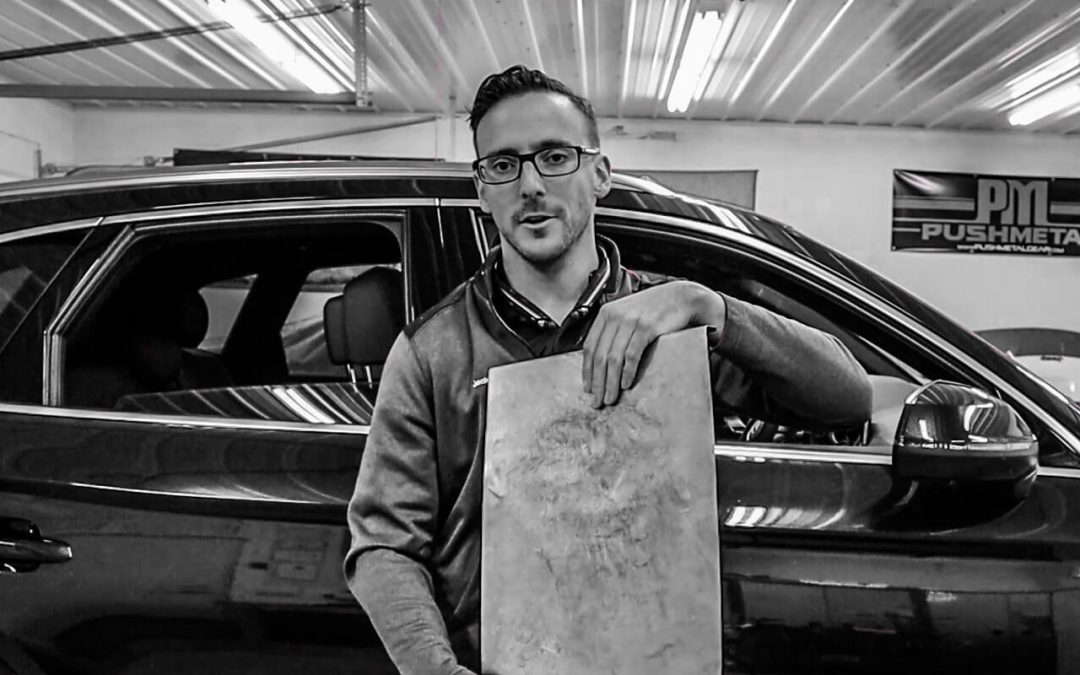
Our paintless dent repair technician, Jack Bucknell, walks you through the entire repair process on this 2018 Audi Q5. This vehicle acquired this damage by parking in a parking lot, there it received 2 door dings. Here we show you how we gain access to push this damage out with our dent repair tools. We also talk about the tools we used as well as what do we do when there is a brace or obstruction in the way of a dent. How do we push the dent out then? Find out!
Hail Damage Repair Access: How do we access the back side of hail damage dents to push them out with our tools?
Jack Bucknell with Sioux Falls Dent Repair shows you how we access areas on this 2010 Subaru for us to make hail damage repairs.We already took the door panels off, as well as the glass assemblies and all the necessary trim has been removed in order to gain access to this area of the tops of the door assemblies on the left passenger side.
This vehicle had hail damage and we had to access the damage from the backside in order to push this damage out. Even though access on this damage is not terrible we still do have to use the glue pull method in order to remove all of these dents. We use an Elmident Glue Gun fitted with a Dewalt battery for our glue supply. We use Hawg Glue from Anson PDR to glue our tabs to the vehicle to remove dents. We then use a combination of glue tabs from Black Plague PDR and Keco to do the pulling. To pull the tabs once they are glued on we use a slide hammer or a mini lifter available from multiple PDR suppliers, the ones we use are available from A-1 PDR Tools.
We then talk about access to other areas of the vehicle. Subaru’s are well known for having a high safety crash test ratings. How they go about doing this especially in the doors and side impact areas is those areas are heavily braced with internal bracing that you won’t see until you take the vehicle apart and inspect the structure. We show you a good example of how this bracing looks and how it can effect the dent repair process.
This is the Crease Dent Repair killer setup from Keco Body Repair Products. This consists of their Robo Lifters, specialized feet for the Robo Lifter paired with their crease glue tabs. For the first time we were able to try out Cam Auto Glue for Paintless Dent Repair. This glue has a slightly slower dry time compared to our traditional glues but man does it pull some strong damage out, all of this setup combine together
Here we used their setup to pull on this practice hood. This hood was undamaged and completely flat when we started, after seeing a demonstration on the setup from Gene at Keco we had to try it out. He setup up the system right next to a spot he had just done prior. We did some pulling and we could not believe the results. You can see the high spots or as he jokes about in the video, body lines we actually put in these panels.
Their power is truly amazing.
You can purchase this system and much more of their fantastic tools from: https://www.kecotabs.com