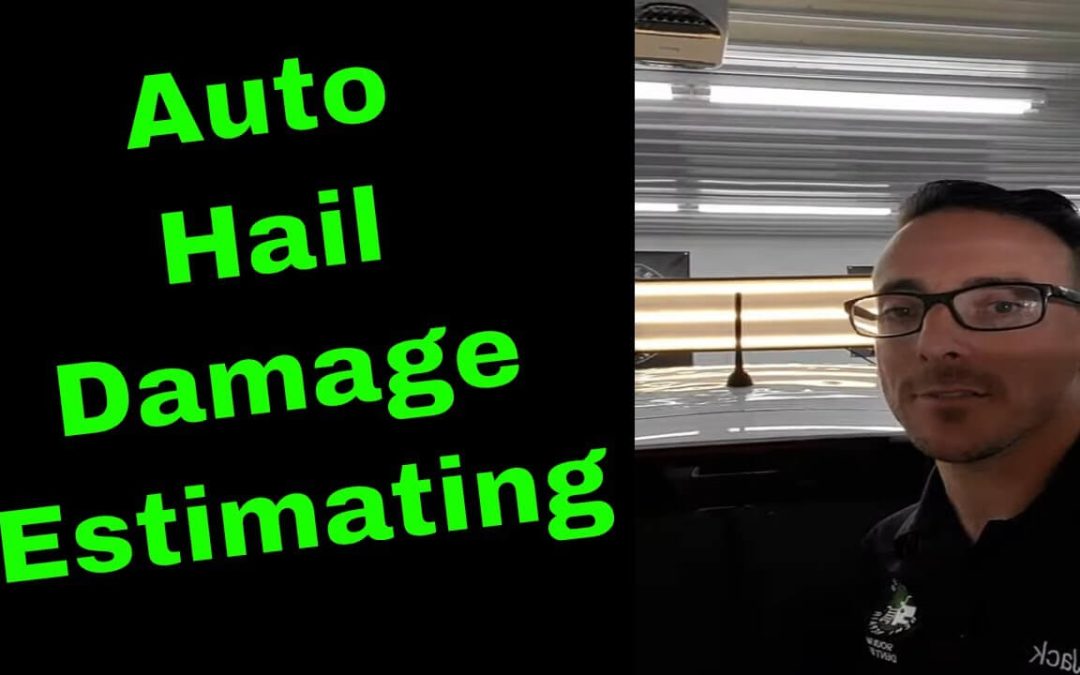
In today’s video, Jack takes us through a hail damage estimate for a 2015 Honda Fit that came into the Sioux Falls Dent Repair shop. As you can see, the damage is quite severe and even caused the paint in the roof to crack in multiple spots.
For the customer to claim their insurance, we needed to take photographs and even mark off the severely damaged areas. The car itself, as you can see, is covered in “oversized” dents which are indicated with “X” marks. In terms of size, an oversized dent is any dent that is larger than a half dollar coin.
The roof and hood were written as replacement pieces because of the severity of the damage and that is what we used to write up our estimate. The dents are all across the body of the car and has even caused the paint to crack in many spots. In some spots, the glass will also have to be removed and reinstalled once the job is complete.
Unfortunately, once the estimate is made, the car is going to be a complete loss for the customer and they will have the option to either get reimbursed or buy it back and get it fixed afterwards. The customer also has a tow hitch attached to the front of the vehicle which means that it will have to be removed and will be included in the eventual cost. We also came across a hairline dent between the side mirror and the frame of the vehicle which will need work. Also, there are signs of previous PDR work on this car, but it isn’t complete and isn’t a good job either.
So, that is how we at Sioux Falls Dent Repair go about writing up an estimate for hail damaged car. We mark off the larger dents and any extreme damage, we take to a body shop for repair or replacement.
Watch the whole process here:
If you have any hail damage that you want us to take a look at, go ahead and call or text us at 605-250-1023.
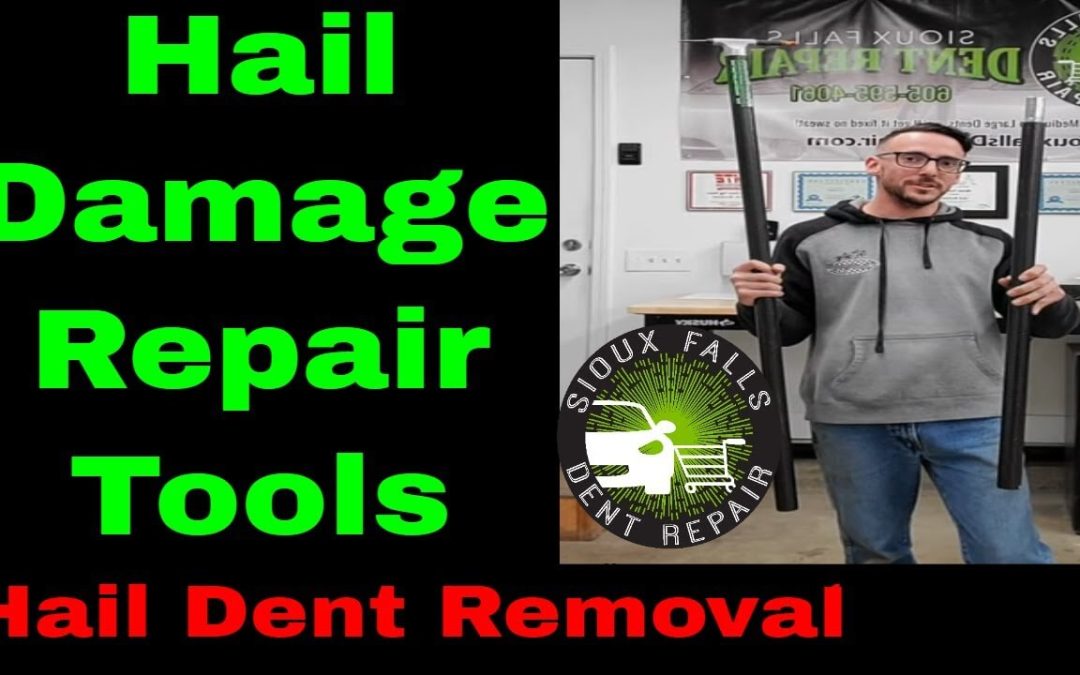
In today’s video, we are going to check out some of the hail damage tools that we use here at Sioux Falls Dent Repair. We will be looking at some of the pushing tools or hail rods that we use to get out all kinds of hail damage. While most of these tools can be used for all kinds of dent repair, they have twin tips which is specifically designed for hail damage repairs.
As you can see on the first tool, we can attach two different sized tips so that we can take out all the damage from a panel without having to change tools constantly. The tips are interchangeable and all depend on the size, depth, and severity of the dent itself. The bigger tip is the R4 from DeadDentTools.com and we use a Cherry Hard Tip on it to get out the initial damage. On the other side of the hail rod we have a sharper tip that is available on EdgyTools.com and is used for fine tuning and completing the job. There are companies that have even taken it even further and produced a four sided hail rod for holding four different tips but we haven’t gotten around to using one of those, yet.
The next rod is not only one of the first ones we got, but it is also one of the best ones we have in the shop. It is called the 36-inch Hail Interchangeable Tip Rod from DentCraftTools.com and it is all made form metal and is extremely durable. Going up from there, we also use the 60-inch Hail Interchangeable Tip Rod which is exactly the same – just bigger.
Tools Made From Carbon Fiber?!
The first rod that we saw is made entirely from carbon fiber and is available on CarbonTechPDRTools.com. The one we use is the Hail Rod and it comes in three separate pieces at 12-inches, 26-inches, and 46-inches. When we put the rod together, it measures 7-foot and gives us access to all parts of a damaged panel with ease. However, they do sell extensions to make the rod even longer. While it might not make sense for most to have a 10-foot hail rod, it is actually extremely helpful when you’re looking for extra leverage on larger vehicles.
Carbon Tech also has some grips on offer which are made from aluminum and make using the rod easier. Another great handle option from the brand is the T Handle which allows us to use both hands for some of the more stubborn dents that we have to deal with. We also use the T Handle to twist and push out the damage from tighter spaces where the entire tip head will not fit. Also, when dealing with tight spaces like truck beds, the twin tip head can be replaced with a single tip head – also available from Carbon Tech.
Another attachment you can get is the Single Bend Pick Tool and is used for taking out the smaller dents. There is also a Double Bend Pick Tool and they are great for getting under the roof of a car and pushing out any damage. Lastly, we also have a Whale Tail extension that lets us get out dents from tiny spaces.
If you have any queries or questions give us a call or text at 605-250-1023 we’ll be happy to chat with you.
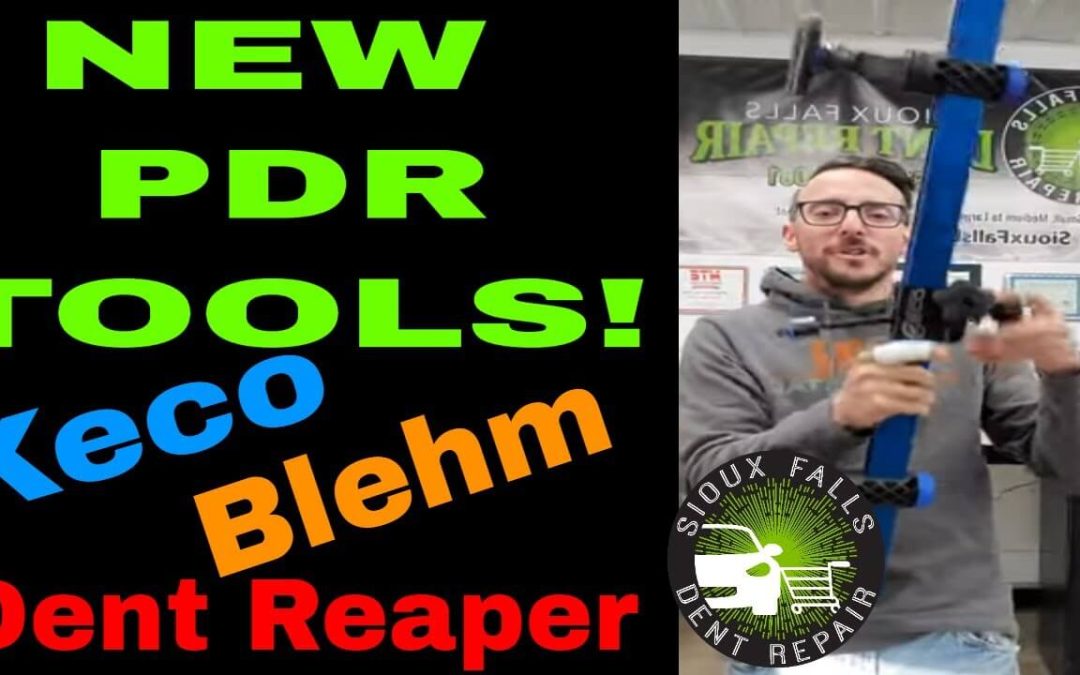
In today’s video, we take a look at some of the latest additions to our Paintless Dent Repair tools collection. We made our recent purchase on Black Friday and got some great deals. Although most of the tools we’ve ordered have come in, we are still patiently waiting for the new dent reaper rods.
One of the first tools we’re going to look at is actually from Blehm and it’s called the SHUTT-UPS. It is the first time we have purchased Blehm and we are excited to start using them. Something that sets these tools apart is that the SHUTT-UPS come with adjustable handles which means they can be used from any angle and easily. There are different varieties of the SHUTT-UPS and come with different levels of curve so that you can reach practically all parts of the panel.
The next tool is called the Daniel Gromm Balloon Tip tool which is also from Blehm and is great for prying two panels apart. Before the Balloon Tip tools were released, we used to use the Whale Tip tools to get out the damage from panels. However, the Whale Tips are a lot sharper than the Balloon Tips and the later ensures that the metal and the paint (if any) is not damaged while we push out the dents. Nevertheless, both the tools work extremely well. The Balloon Tip tools are available in various sizes which is great for working on all kinds of dents and dings.
Next, we take a look at the KECO K-Beam Bridge Lifter which is a powerful tool in the PDR industry. What it actually does is that the K-Beam is placed on the vehicle body using the rubber legs and a pull tab is connected to the central lever. The lever can be spun manually or with the help of a drill to pull the glue tab out along with the dent. The K-Beam Bridge Lifter is designed for bigger dents and larger damage.
This is the time of the year where people wash their vehicles a lot less and therefore they don’t notice the smaller dents that they would have noticed in the summer months. We have been getting a lot of calls from people who are backing out of their garages and denting their side fenders.
One of the jobs we have on our hands right now is a door dent which is on a 2017 Honda. The dent extends from the bodyline and also comes with a tiny chip in the paint. The customer was fine with us just doing a small touch up job as the car was a lease turn-in. The PDR job will help them avoid any major fines or fees. PDR will always be more affordable than what a body shop has to offer and the customer knows that which is why they chose to come to us before bringing the vehicle back to the dealership. A body shop would have repainted the entire panel and would have most likely even had to paint and blend the front fender as well. As you can tell, that process would have been more expensive and time consuming.
Moving to the hood of the car, there is also a small dent in front – most likely from the vehicle hitting a bird. You can actually see the extent of the damage in the PDR lights and how distorted the hood really looks. So, we’ll be taking out the door and hood damage and getting the car back to the customer so that they can turn it back into the dealer without having to pay the extra fines. This car is a perfect candidate for PDR as the damage can be removed up to 80-90 percent and a regular person won’t even notice the difference, this allows the customer to save money!
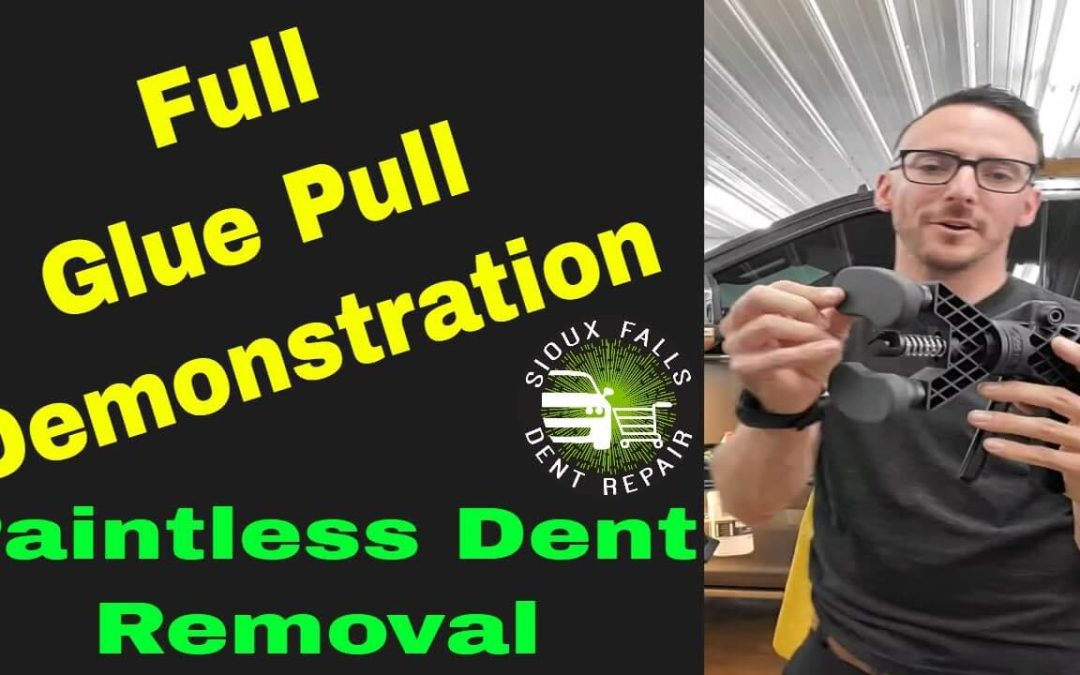
Full Glue Pull Demonstration for Paintless Dent Repair and Dent Removal
Today, we’re going to demonstrate how glue pulling really works and we have a door ding on a 2018 Ford F-150 to take care of. The body of the truck is made from aluminum and we’re going to take a look at how it differs from a regular steel body vehicle. We will also get into why glue pulling is considered for the repair rather than pushing on the metal from the inside.
The dent itself is not too severe and that is why Jack chose to do the repair live. As you can see, the dent is close to the door handle and with the PDR light, we can see that it isn’t too deep either. The special PDR light allows us to see dent clearly as we as any damage that might show up around it. Along with an aluminum body, the truck also has laminated safety glass which makes it difficult to use the traditional method of lowering the window and going in through the window channel.
Why does the type of glass make a difference? Well, there are basically two types of glass that are used in cars – tempered and laminated. The difference between the two is that laminated glass cracks and tempered glass shatters when damaged. Laminated glass is made from two different pieces of glass that are joined together with a film that keeps the glass together rather than breaking into pieces. Laminated glass can easily crack when pressure is applied to the edges which are why glue-pulling is the preferred method for PDR.
As you already know, at Sioux Falls Dent Repair, we use all types of glue-pulling tabs from all the best brands such as KECO, Edgy Tools, Robo Tabs, and Black Plaque PDR. They all bring their own benefits to the table and we always have them at hand for any type of repair.
Getting back to the dent, Jack starts things off with the Edgy Tools glue tabs because they don’t have the strongest grip on the metal and this kind of dent requires small pulls rather than large ones. After applying the glue, Jack gets two pulls on the tab and the glue stays on the car. This allows for a softer pull because the dent is not excessively large. With the first two pulls, we can see a little progress but we all know that PDR takes time and patience.
The next tab being used is the Root Beer from Anson PDR. With this tab, Jack is using a Robo Mini Lifter from KECO which takes the tab off with a loud “pop”. Once the tab is off, we can see that there was a little bit of an overpull which was expected with the type of tab and tool combination. Under the PDR lights, we can see the high spot on the dent and Jack has to now push the metal back down. For this, Jack chooses the KECO Root Beer Knockdown tool and the Shane Jacks Blending Hammer with Edgy Tools tips. With just a couple of minutes of knockdown work, we can see how Jack has almost taken out all the damage. There are only a few spots left that will be taken out by wet sanding and polishing the area. Jack completes the repair with a couple of small pull tabs and a few more seconds of hammering. After a little bit of polishing, Jack is happy with the result and is ready to move on to another dent on the other side of the vehicle.
If you have any questions or queries, give us a call or text us at by Clicking Here
When we last discussed glue pulling tabs, we talked about the smaller ones that we use here at Sioux Falls Dent Repair. Today, we’ll be looking further and getting to know a little more about the crease tabs that we use in the shop.
There are all types of crease tabs, as you can imagine. Some with textured finishes and some smooth. Black Plague PDR was probably one of the first names to introduce the high quality pull tabs and we continue to use them today. The first generation of pull tabs from Black Plague PDR were actually all black in color but have now changed to green and black. The new tabs come with a cavity along the surface which allows us to apply the glue in a straight line. This helps us reduce the amount of glue being used and also gives us a precise pulling technique.
Black Plague PDR has all different types of pull tabs and in all different sizes. The second generation included a copper thread insert to stop the bolts from breaking off from the plastic body. Another commonly used tab is the Smooth Tabs Gang Green Edition and they work pretty well on almost all types of crease dents.
The newer tabs that we use and that are available in the market right now are from KECO Tabs. These are also being used now by body shops more often because of their durability. As you can see, one of the tabs actually has a number of slits in it. This makes it so that the tab is flexible and the technician can put more pressure on a certain area rather than the entire tab. Another ingenious tab from KECO is the Viper Modular Articulating Glue Tabs range which allows you to remove or add individual tabs according to the kind of dent you’re working on. Plus, the Viper Modular series can be bent into customizable angles for an even better PDR experience. Once again, we also use the Ice and Blue tabs that are used for different kinds of dent jobs and have different strengths.
We actually have so many tabs to choose from that we often don’t even use some and sit in the shop for months before we actually put them to use. As is with most tools, once you get used to certain tools and accessories, it is hard to move to another design.
If you want to know more about the glue pull tabs we use, go ahead an each out to us directly bycalling or texting us!
Today we are going to be checking out some of the accessories that fit onto the Motorcycle Tank Vice for motorcycle dent repair from Ultra Dent Tools that we discussed a few days ago. The first accessory that we’re going to be looking at is something that we use to protect the metal surrounding the gas filler opening. It is a simple plastic ring that drops into most of the motorcycle’s fuel tank openings. There is also a copper ball accessory that fits into the opening of the ring. The ball has a pivoting hole that allows a tool to slide through and then it can be locked in with an Allen Key. What this helps with is to keep the tool secure and allows you to put as much or as little leverage as is required to fix a dent in the tank without damaging or scratching the metal. Another helpful tool or tools is something that can keep the tank in place and secure it so that technicians can work on the tanks without worrying about it sliding or shifting around. It is quite difficult to explain most of these tools without having a tank to actually showcase them. When you’re working with motorcycles, you always have to make adjustments because every bike manufacturer is going to put something different on their bikes, so you always should have options to get the right fit for every model.
When installing a fuel tank onto the vice, we always have to make sure that we get a tight and secure fit so that we don’t get any slip-ups when pushing out a dent. Spacers are a great accessory to use when we need to get a snug fit for any type of tank and they come in all different sizes. Using plastic washers between the tank and any other metal (washers, nuts, screws, etc.) ensures that we don’t scratch up the original paint work or damage the metal on the tank or panel that we are working on.
A product that has really come in handy for most of the motorcycle vice accessories is a box that I purchased from Walmart which is more commonly used for separating fishing equipment. It has enough space to store the smallest accessories without getting them mixed up with the other accessories. If and when we get a motorcycle tank to work on, I can explain and demonstrate how these accessories and tools work in reality – so stay alert for that.
If you have questions or queries, leave them down in the comments section below and we’ll be happy to get back to you.