Dent Repair in Sioux Falls – Jeep Body Line Crease Dent Removal
Today we are remove a super sharp body line dent. Be sure to check out the repair video below! This damage was located in the drivers upper body line of this 2020 Jeep Cherokee. One big obstacle for this repair was the access to the backside of the damaged area. To access the back side of this dented area we have to go through the upper part of the door where the window channel is. This window in the drivers door is made up of Laminated Safety Glass this creates an issue because we cannot apply pressure to this glass because there is a high chance of the glass breaking upon applying pressure. Because of this glass being sensitive to pressure we then remove the door glass to access this damage. Does your vehicle have this type of glass and is this a factor for your repair?
First Things First – Computer Diagnostic Scanning:
First we start off by running a Pre diagnostic computer scan to set a baseline for the repair for any existing trouble codes the vehicle might have had prior to any work being done. Learn more about computer scanning here:
Once the computer system is checked we then can start the disassembly process, we first remove the door panel. From there we can access the glass track system and disconnect the glass from the window regulator, this then allows us the safely remove the door glass. From there we can then can apply a heat gun to the damaged area to warm the area up to insure the paint is safe when pushing this damage out. We keep the damaged area between 160-180 degrees fahrenheit. This makes not only the paint soft and allows the paint to move with he metal but also makes the paint not want to split or crack during the repair, this is the most important step of a repair like this, having the metal and painted area hot while repairing insures no paint damage. If we were to just try pushing the damaged area out it would for sure split making the repair ruined.
Tensions Are Rising
Once the damaged area is heated up we apply a Keco Lateral tension tool setup to the area. In a sharp impact like this when the metal is pushed in it can pull the surrounding metal inwards, so to reverse this we have the pull the metal back apart WHILE pushing the damaged area up. A repair like this is what sets the men apart from the boys, this is a type of repair many would mess up for not knowing these types of things or making this repair just an improvement not a full repair like shown. Once the damaged area is flattened back out we can start putting the vehicle back together, first reinstalling the door glass, then attaching it back to the track system and insuring it rolls up and down like it should, then we can reinstall the door panel. After everything is back together we then run another computer diagnostic scan called a Post Scan. This scans the computer system for any codes that might have popped up while doing the repairs, like disconnecting the door panel, door module or other electrical components, even disconnecting the battery prior to doing anything can set multiple codes so it is very important this step is done. Once the system is check out and cleared of any new codes it is good to go down the road once again safely.
Repair Overview
Hopefully this gives you a better understanding of the paintless dent repair process, dents do not just pop out or get removed by a few pushes especially damage like this and having the right technician and tools to do the job is a key ingredient to a successful repair.
In today’s video, we take a look at some of the latest additions to our Paintless Dent Repair tools collection. We made our recent purchase on Black Friday and got some great deals. Although most of the tools we’ve ordered have come in, we are still patiently waiting for the new dent reaper rods.
One of the first tools we’re going to look at is actually from Blehm and it’s called the SHUTT-UPS. It is the first time we have purchased Blehm and we are excited to start using them. Something that sets these tools apart is that the SHUTT-UPS come with adjustable handles which means they can be used from any angle and easily. There are different varieties of the SHUTT-UPS and come with different levels of curve so that you can reach practically all parts of the panel.
The next tool is called the Daniel Gromm Balloon Tip tool which is also from Blehm and is great for prying two panels apart. Before the Balloon Tip tools were released, we used to use the Whale Tip tools to get out the damage from panels. However, the Whale Tips are a lot sharper than the Balloon Tips and the later ensures that the metal and the paint (if any) is not damaged while we push out the dents. Nevertheless, both the tools work extremely well. The Balloon Tip tools are available in various sizes which is great for working on all kinds of dents and dings.
Next, we take a look at the KECO K-Beam Bridge Lifter which is a powerful tool in the PDR industry. What it actually does is that the K-Beam is placed on the vehicle body using the rubber legs and a pull tab is connected to the central lever. The lever can be spun manually or with the help of a drill to pull the glue tab out along with the dent. The K-Beam Bridge Lifter is designed for bigger dents and larger damage.
This is the time of the year where people wash their vehicles a lot less and therefore they don’t notice the smaller dents that they would have noticed in the summer months. We have been getting a lot of calls from people who are backing out of their garages and denting their side fenders.
One of the jobs we have on our hands right now is a door dent which is on a 2017 Honda. The dent extends from the bodyline and also comes with a tiny chip in the paint. The customer was fine with us just doing a small touch up job as the car was a lease turn-in. The PDR job will help them avoid any major fines or fees. PDR will always be more affordable than what a body shop has to offer and the customer knows that which is why they chose to come to us before bringing the vehicle back to the dealership. A body shop would have repainted the entire panel and would have most likely even had to paint and blend the front fender as well. As you can tell, that process would have been more expensive and time consuming.
Moving to the hood of the car, there is also a small dent in front – most likely from the vehicle hitting a bird. You can actually see the extent of the damage in the PDR lights and how distorted the hood really looks. So, we’ll be taking out the door and hood damage and getting the car back to the customer so that they can turn it back into the dealer without having to pay the extra fines. This car is a perfect candidate for PDR as the damage can be removed up to 80-90 percent and a regular person won’t even notice the difference, this allows the customer to save money!
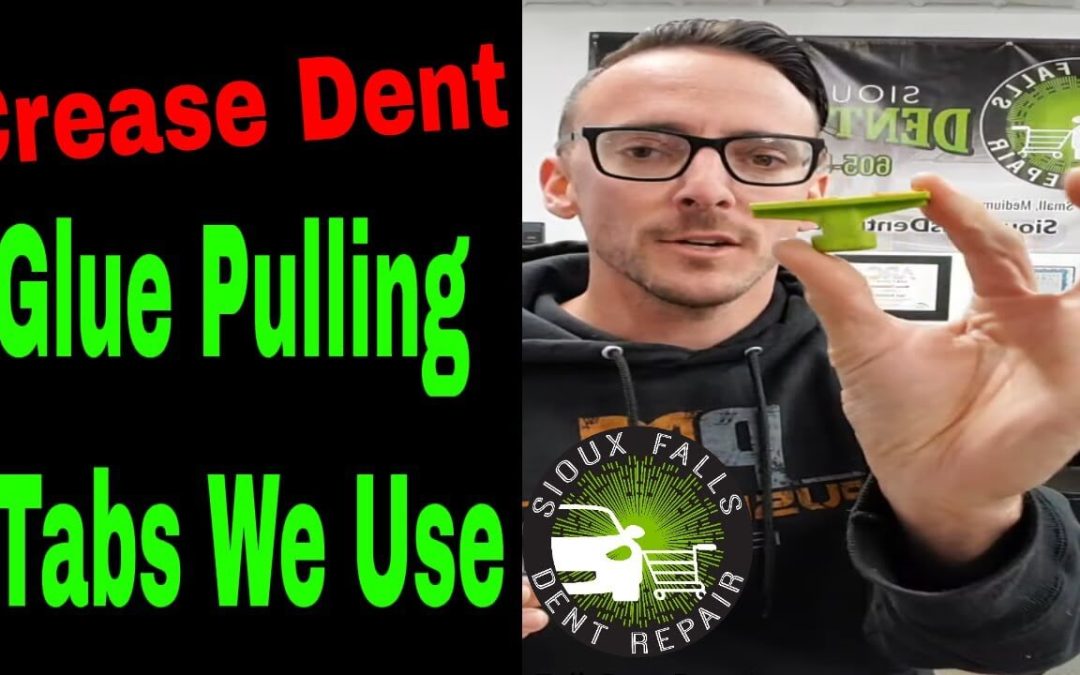
When we last discussed glue pulling tabs, we talked about the smaller ones that we use here at Sioux Falls Dent Repair. Today, we’ll be looking further and getting to know a little more about the crease tabs that we use in the shop.
There are all types of crease tabs, as you can imagine. Some with textured finishes and some smooth. Black Plague PDR was probably one of the first names to introduce the high quality pull tabs and we continue to use them today. The first generation of pull tabs from Black Plague PDR were actually all black in color but have now changed to green and black. The new tabs come with a cavity along the surface which allows us to apply the glue in a straight line. This helps us reduce the amount of glue being used and also gives us a precise pulling technique.
Black Plague PDR has all different types of pull tabs and in all different sizes. The second generation included a copper thread insert to stop the bolts from breaking off from the plastic body. Another commonly used tab is the Smooth Tabs Gang Green Edition and they work pretty well on almost all types of crease dents.
The newer tabs that we use and that are available in the market right now are from KECO Tabs. These are also being used now by body shops more often because of their durability. As you can see, one of the tabs actually has a number of slits in it. This makes it so that the tab is flexible and the technician can put more pressure on a certain area rather than the entire tab. Another ingenious tab from KECO is the Viper Modular Articulating Glue Tabs range which allows you to remove or add individual tabs according to the kind of dent you’re working on. Plus, the Viper Modular series can be bent into customizable angles for an even better PDR experience. Once again, we also use the Ice and Blue tabs that are used for different kinds of dent jobs and have different strengths.
We actually have so many tabs to choose from that we often don’t even use some and sit in the shop for months before we actually put them to use. As is with most tools, once you get used to certain tools and accessories, it is hard to move to another design.
If you want to know more about the glue pull tabs we use, go ahead an each out to us directly bycalling or texting us!
Today we are going to be discussing using the glue pull method when performing paintless dent removal. This vehicle we are showing you here today is a Chevy Impala and it has some damage in the roof panel of the vehicle right above the drivers seat. This damage was cause when the customer was taking something down from their garage and it accidentally fell on the roof of this Impala.
Repair Method Choices
Now often times we want to gain access to the back side of the damaged area and push the area out with tools. This would have been a perfectly acceptable way to make this repair. After reviewing the damage with the customer we found that it would be more cost effective for us to remove this damage using glue pulling and pull the damage up verses lowering the entire headliner assembly and pushing the damage out. Now this is not always the case but this repair style worked great for this repair.
To Glue Pull Or Not To Glue Pull
One of the biggest factors that come into play when deciding the repair method is the excising paint finish. If this roof had been repainted before and not had its factory paint finish on it we would do everything we can to NOT glue pull on this area. Why? Because we would run the risk of actually pulling the non factory paint finish off of the car leaving a spot with paint missing and pulled off of the car. This is why it is so important to choose paintless dent repair verses going to a body shop and having your vehicle repainted. The factory paint finish is the best paint finish that you can get on your vehicle, will last the longest and has the strongest bond to the panel.
Have questions about anything you viewed here or have a repair of your own?
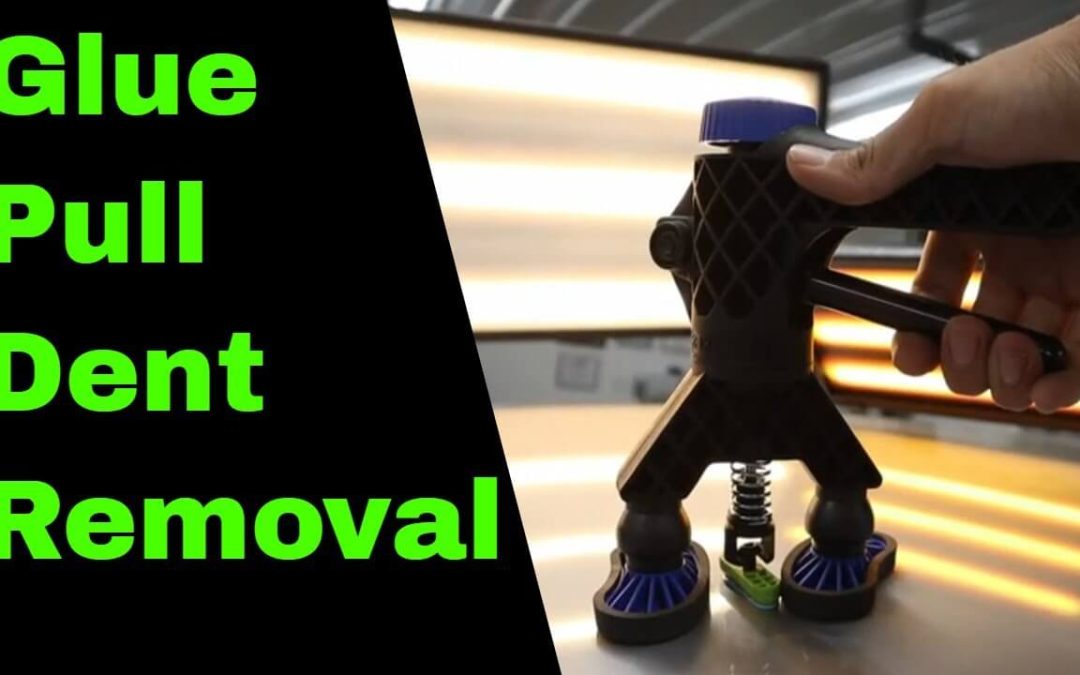
This is the Crease Dent Repair killer setup from Keco Body Repair Products. This consists of their Robo Lifters, specialized feet for the Robo Lifter paired with their crease glue tabs. For the first time we were able to try out Cam Auto Glue for Paintless Dent Repair. This glue has a slightly slower dry time compared to our traditional glues but man does it pull some strong damage out, all of this setup combine together
Here we used their setup to pull on this practice hood. This hood was undamaged and completely flat when we started, after seeing a demonstration on the setup from Gene at Keco we had to try it out. He setup up the system right next to a spot he had just done prior. We did some pulling and we could not believe the results. You can see the high spots or as he jokes about in the video, body lines we actually put in these panels.
Their power is truly amazing.
You can purchase this system and much more of their fantastic tools from: https://www.kecotabs.com