This is the Crease Dent Repair killer setup from Keco Body Repair Products. This consists of their Robo Lifters, specialized feet for the Robo Lifter paired with their crease glue tabs. For the first time we were able to try out Cam Auto Glue for Paintless Dent Repair. This glue has a slightly slower dry time compared to our traditional glues but man does it pull some strong damage out, all of this setup combine together
Here we used their setup to pull on this practice hood. This hood was undamaged and completely flat when we started, after seeing a demonstration on the setup from Gene at Keco we had to try it out. He setup up the system right next to a spot he had just done prior. We did some pulling and we could not believe the results. You can see the high spots or as he jokes about in the video, body lines we actually put in these panels.
Their power is truly amazing.
You can purchase this system and much more of their fantastic tools from: https://www.kecotabs.com
We had a chance to chat with Gene Fetty with KECO Body Repair Products and learn about one of their newest products at the 2019 Mobile Tech Expo in Las Vegas!
This is called The Ergo Power Grip. This tool simply attaches to your adjustable handle tools and allows you to multiply your pushing power.
You can use it with a twisting motion, often used when repairing door dents and dings. The handle is completely adjustable allowing you to use it in many configurations.
You can also use to push from the sides of vehicles, this would be very common in panels such as the quarter panels or fenders in certain angles. You can even use it to multiply your pushing power through a wiring harness hole like shown in the video with Crystal at Push Metal Gear.
Also when repairing flat panels, say a hood for instance you can instantly multiply your pushing force. This puts less stress on your body and allows you to make even more precise pushes more comfortably.
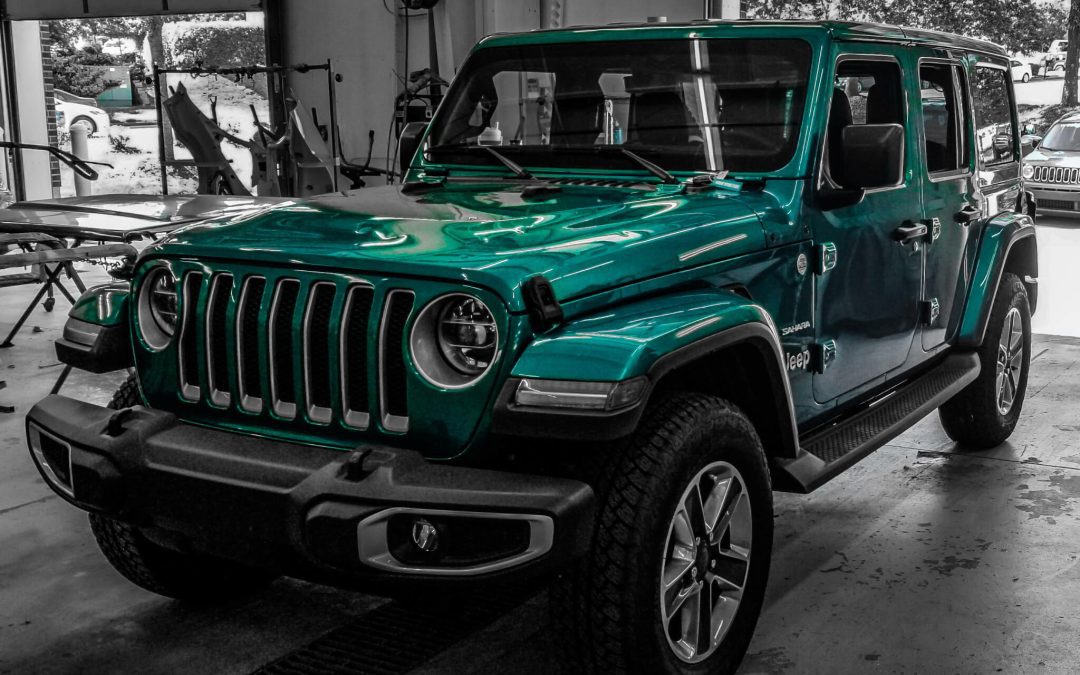
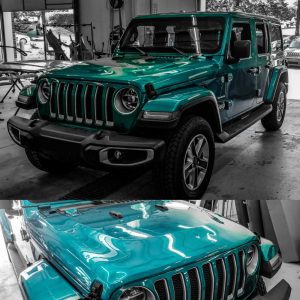
The 2019 Jeep Wrangler features some big changes from the existing models.
First off it has for the first time ever has aluminum doors, a plastic cowl, aluminum windshield post and aluminum hood. Now while these may not seem like big issues for the new Jeep Wrangler but it does create new challenges.
The added use of multiple aluminum panels makes repairing dents much more difficult. Many folks think that aluminum is very weak and easily dented. This is probably from the common thought of a pop or soda can being so easy to simply squeeze and crush. The aluminum on vehicles is much thicker and ranges in strengths. A study done by NAPDRT, short for the National Association of Paintless Dent Repair Technicians and multiple Insurance Companies found that aluminum easily takes double the amount of force to dent as appose to traditional Mild Steel. Repairing the same damage takes over twice as much force as well as a different selection of tools to push specifically on aluminum.
JEEP Wrangler Hail Damage
The plastic cowl is the biggest noted change. These vehicles specifically use to suffer from a very notorious “Jeep” dent. See an example of a Jeep Cowl Dent we repaired: CLICK HERE
With this panel now being plastic they will no longer be dented like the previous models!
The Jeep Wrangler challenges to dent repair technicians is nothing new, these types of metal changes and moving to plastic will only continue. With standards in the automotive industry raising the bar in safety as well as fuel efficiency, aluminum and plastic will only continue to grow in its usage in the automotive industry.
This is a repair we did on a Yamaha motorcycle. Traditionally in motorcycle dent removal the motorcycle gas tank sits on top of the motorcycle. The rider then has the gas tank between their legs. On this Yamaha model however,that is not the case. The gas tank actually rests under the seat on this bike. Where the tank would traditionally sit between the riders legs is actually just a metal cover that resembles a smaller gas tank but this is actually just covering the frame of the bike as well as the top of the engine assembly.
First thing we do in motorcycle dent removal is mount this engine cover to our motorcycle vice stand. This gives us a solid platform to mount the cover to so it will not move during the repair process. There is a lot of pressure and force that needs to be applied in order to push damage out of any item that has a dent in it and motorcycles are no exception. Once the cover is mounted we use all sorts of specialized tools some are even specifically made to work on motorcycles. Some of the biggest differences in a motorcycle specific tool and a traditional tool is the strength. While all dent removal tools are strong, motorcycles are extremely strong compared to a cars sheet metal. So the motorcycle specific tools are much more stout this allows us the apply force to the damaged areas and push them out and not have the tool bend in the process. A tool that bends means there is a waste of energy being applied to the repair and not all of the force from the technician is being applied to the repair making it more difficult resulting in a longer repair time as well creating more work for the technician.
In the end we use a combination of tools to get this damage out and make this engine cover dent free once again. The bike owner was thrilled with the results and happy to have a dent free motorcycle. He was especially happy since he was able to ride the bike to our shop, remove the cover and take off to work. Then later show up to pick it up and simply snap it back on the bike and go down the road once again.
Here we are walking you through the entire process on how we repair these door dings in this 2018 Audi Q5. This vehicle has only 8k miles on it! The customer originally brought it to us for the dent in the rear door. We gave her an estimate and scheduled the repair a couple weeks later. Later on the vehicle was brought to us for us to do the repair it had actually received another dent in the front door! We were able to do both of these repairs in an afternoon. The customer dropped the vehicle off before work and picked it up dent free after work.
In order to do these repairs we need to gain access to the backside of the damaged areas. We do this by first rolling down the windows of the damaged doors. We then install a stainless steel window guard between the window and the outer sheet metal of the door. This guard protects the window from any type of damage. It also allows us access to the damaged areas of the door without having to remove the door trim panel. We then install an inflatable window wedge in the door channel opening. We then pump it full of air to slowly and safely expand the window opening. From there we install our tools through the top of the window channel and are able to slowly work this metal out and make this dent slowly disappear.
Once the dents are then removed, we then take some extra steps to buff the minor scuffs in the paint from the impact that caused the dents. We then follow that with some rubbing compound and buffing followed by polishing the areas and a final wipe down to clean the panels off. The damage is now completely gone and undetectable, it’s like the damage had never even happened.